# Acurite Weather Station Installation Guide
Installing an Acurite weather station can be a rewarding experience, allowing you to monitor local weather conditions with precision. Whether you’re a weather enthusiast or simply want to keep an eye on your environment, this guide will walk you through the installation process step by step.
## Choosing the Right Location
The first step in installing your Acurite weather station is selecting the ideal location. The accuracy of your weather readings depends heavily on where you place the sensors. Here are some tips:
– **Avoid Obstructions:** Ensure the area is free from tall buildings, trees, or other structures that could block wind or sunlight.
– **Elevation:** Place the sensors at least 5 feet above the ground to avoid ground interference.
– **Distance from Electronics:** Keep the sensors away from electronic devices that could cause interference.
## Assembling the Weather Station
Before installation, assemble the components of your Acurite weather station. Most models include:
– **Display Console:** This is the main unit that shows weather data.
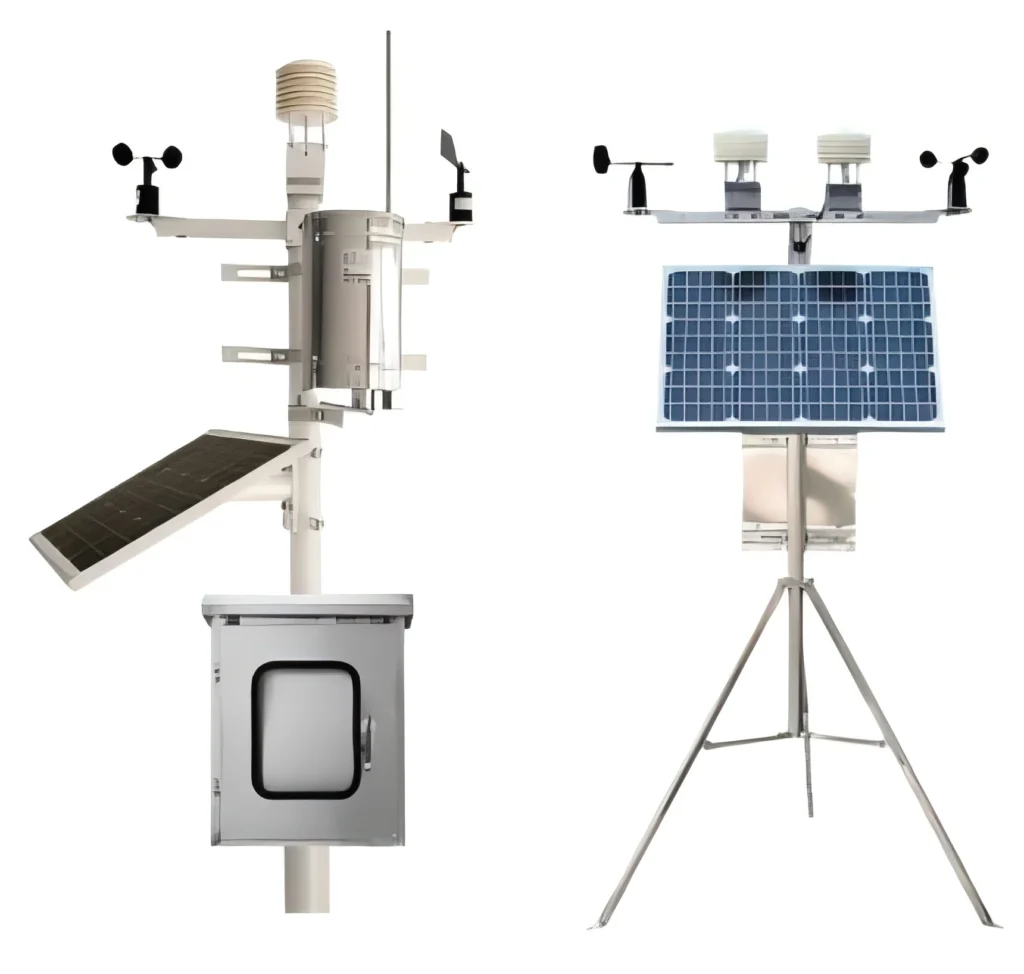
– **Outdoor Sensors:** These measure temperature, humidity, wind speed, and rainfall.
– **Mounting Hardware:** Brackets, screws, and other tools for securing the sensors.
Follow the manufacturer’s instructions to connect the sensors to the display console. Ensure all batteries are properly installed and that the console is powered on.
## Mounting the Sensors
Once assembled, it’s time to mount the sensors. Here’s how:
1. **Temperature and Humidity Sensor:** Attach this sensor to a pole or wall using the provided mounting bracket. Ensure it is shielded from direct sunlight and rain.
2. **Anemometer (Wind Sensor):** Mount this sensor at the highest point possible, ideally on a rooftop or mast. Make sure it is level and unobstructed.
3. **Rain Gauge:** Place the rain gauge in an open area where it can collect rainfall without interference. Ensure it is level for accurate measurements.
## Connecting the Display Console
After mounting the sensors, position the display console indoors. Place it in a location where you can easily view the data. The console should be within range of the outdoor sensors, typically up to 330 feet in open areas. Avoid placing it near electronic devices that could cause interference.
## Calibrating the Weather Station
Calibration ensures your Acurite weather station provides accurate readings. Follow these steps:
1. **Temperature and Humidity:** Compare the readings with a trusted thermometer and hygrometer. Adjust the settings if necessary.
2. **Wind Speed:** Use an anemometer to verify the wind speed readings. Make adjustments as needed.
3. **Rainfall:** Measure rainfall manually and compare it with the rain gauge data. Calibrate the gauge if discrepancies are found.
## Maintaining Your Weather Station
Regular maintenance is essential for optimal performance. Here are some tips:
– **Clean the Sensors:** Remove dirt, debris, or bird droppings from the sensors regularly.
– **Check Batteries:** Replace batteries as needed to ensure continuous operation.
– **Inspect Mounting Hardware:** Ensure all brackets and screws are secure to prevent damage from strong winds.
By following this Acurite weather station installation guide, you’ll be well on your way to enjoying accurate and reliable weather data. Happy monitoring!
Keyword: acurite weather station installation


